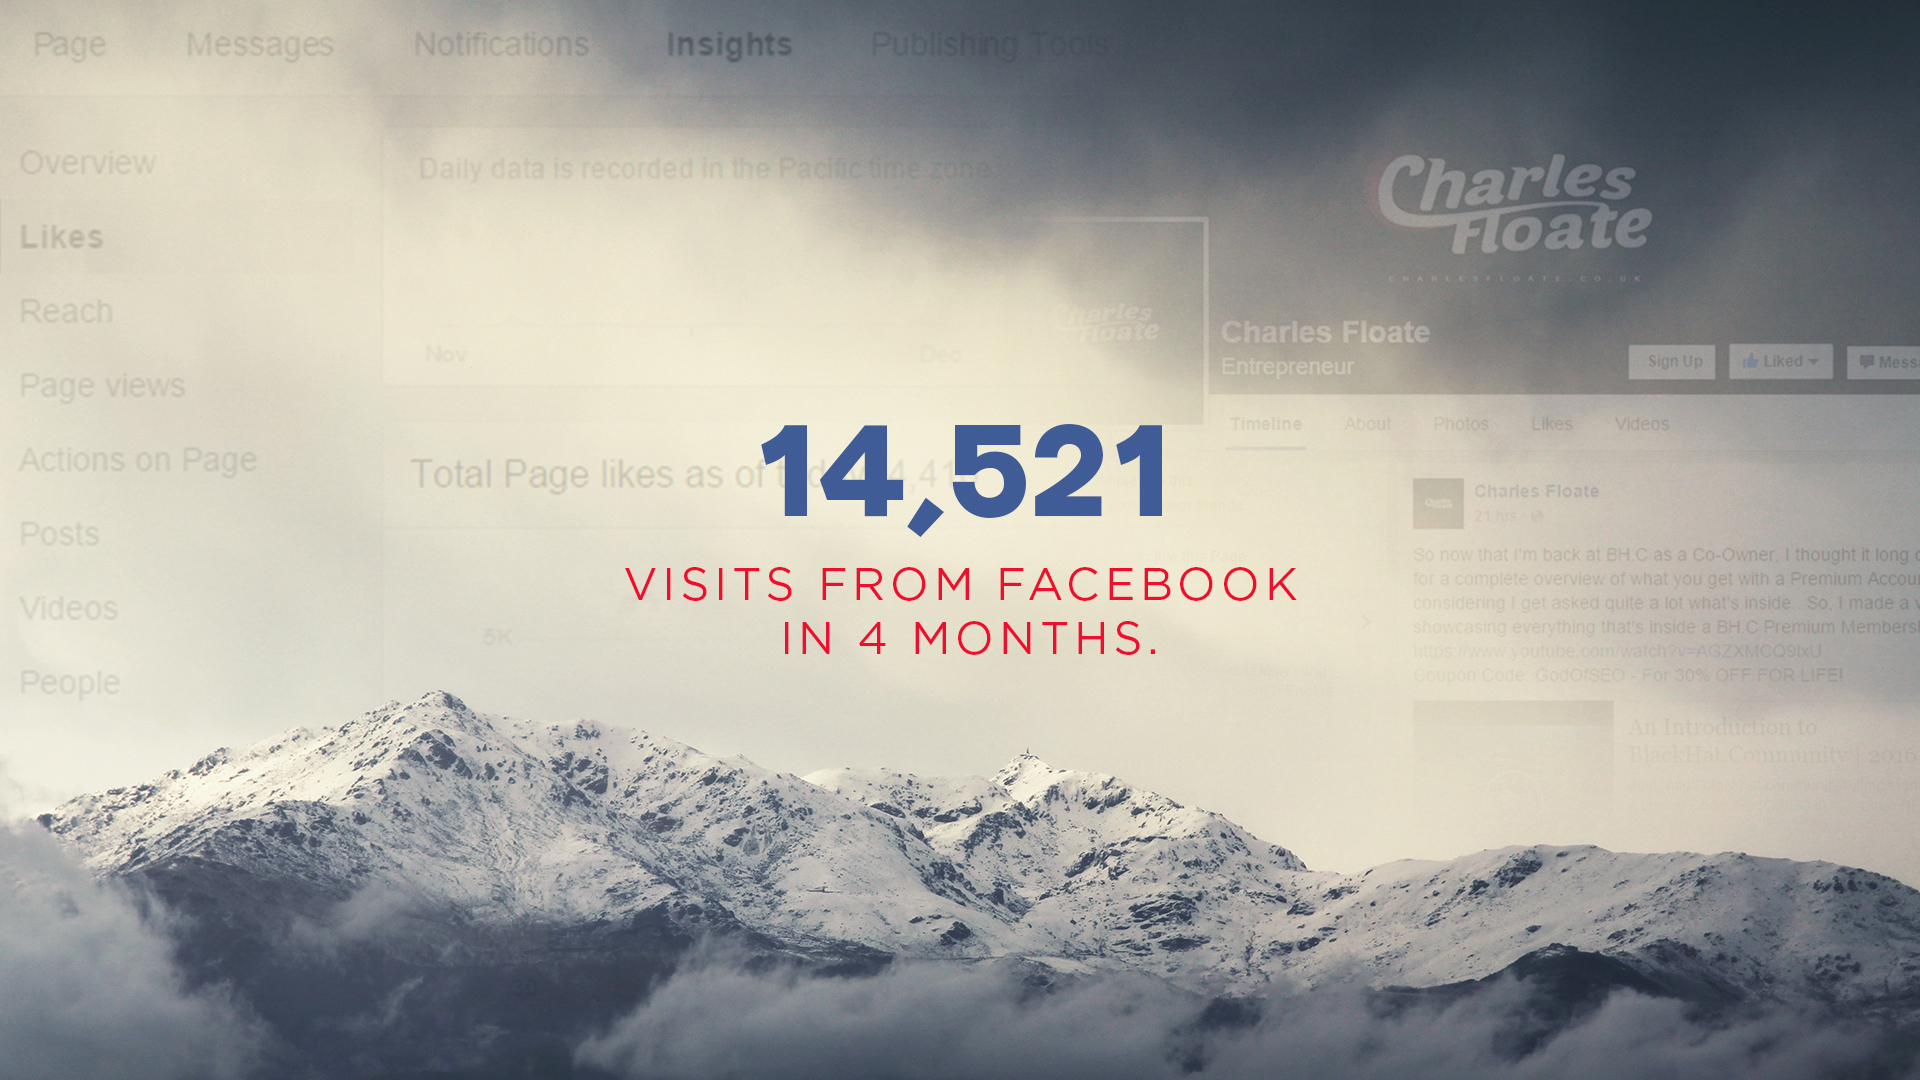
Facebook accounts for a large chunk of my blog’s traffic, around 30% – 40% to be specific, since October it’s sent over 14,500 visitors to my blog –
![]()
That’s about 3,750 visits per month!
In the last 4 months, I’ve spent just $500 on the Ads I run to generate traffic to this site, Ads account for under 10% of that 14.5k figure.
Table of Contents
Glossary of Terms
So quite a few people who are new to marketing on Facebook won’t understand some of the terminology I use in this post, so I’ve put together a small glossary for you to be able to understand everything I am talking about.
If you aren’t new to it then you can just skip this section.
- Reach – How many people organically (without paid ads) see your post.
- EdgeRank – Facebook’s algorithm which defines how much reach a post gets.
- CTA – A “call to action” aka a response based option given to a user, such as a button to press or a form to fill out.
- Algo – Algorithm.
- CPC – Cost Per Click.
For a more detailed glossary, you can check out Jon Loomer’s infographic here.
[well]Note: Facebook did change it’s algorithm from EdgeRank to a machine learning based algo, but as there’s no “new” name for it, I’ll be sticking with EdgeRank.[/well]
How Did I Achieve This?
I used several techniques/tactics, and in order of effectiveness they are:
- Facebook Groups – Specifically, My Group – The biggest SEO Facebook Group in the World.
- My Facebook Page – With a 28% – 40% Performance Index according to FanPage Karma.
- Facebook Ads – I don’t go after keywords normally.. I’m purely about retargeting, it’s cheaper and more effective.
I’ll be covering each one of these techniques in detail.
I’d also like to note that about 2% – 3% of my traffic came from my personal profile, which has over 1,200 followers. Though due to the tiny percentage of overall traffic, I haven’t showcased this – That follower count has come from my page and my group anyway.
So without further ado, let’s get into it.
Facebook Group Marketing
My group has sent me well over 8,000 visits in the last 4 months, showing up for about 57% of my overall traffic from Facebook. It’s no secret that Facebook groups are a lot better for reach in Facebook than pages, in the post I just linked to Ryan Stewart showcases a great example of this, testing his 660 page likes vs his 660 group members –

It’s pretty obvious who the winner is. I ran very similar tests which worked out similarly, though my page did get better results vs this 1,400% difference.
[well]Pro Tip: Share your Facebook page posts to your groups instead of just sharing the link. This will mean you transfer Group members > Likes & get a more detailed insight at how many clicks etc.. you get on every post.[/well]
My group grows at a rather rapid rate, adding around 50 – 100 members per week currently, and has since become the biggest group in the SEO industry –
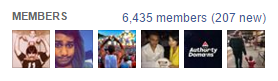
That’s 207 new members this week, by the way.
Creating Your Facebook Group
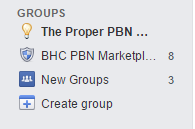
It’s really simple to start a group, just go to your left hand sidebar once logged into Facebook, go to the “Groups” section and click “Create a Group” –
You’ll then need to fill out all the details, I personally go with “Closed” groups, as Public ones mean anyone can see the posts and members without having to join the group first. A closed group removes lurkers who don’t want to contribute to the group, and stops non-members from simply stealing and re-posting your content – Which has happened to our group several times in the past.
Once you’ve created your group, simply fill out the description, tags and add a group cover photo. I suggest getting a custom designed cover photo for your group with some form of CTA in it.
This is my group’s cover –
It was designed by Yudhish Puran, by the way.
Once you’ve done that, your group is ready to start it’s climb to success.
Growing Your Facebook Group
Growing a group can be a daunting task at the start. The best way to grow a group is by offering value for free, and you’ll see current members flocking in new ones via word of mouth.
[well]Note: I also use an Ad banner on the top right of my blog which has generated around 350 clicks since being added on the 10th of January.[/well]
However, there are several techniques you can use to grow your group, here’s a few I’ve used to grow mine.
Facebook Ads
Re-targeting your visitors (which I’ll cover further on below) is a great way to grow your new members straight off the bat, and you’ll have people already aware of your brand/name.
[well]Note: You’ll have to use the “Boost Post” campaign for this, as you can’t send people to internal Facebook links through “Send people to website” campaigns.[/well]
You can also just use generic keywords, though this is costly compared to what you get – I prefer re-targeting as it’s normally a fraction of the cost, and once you have those initial members it starts growing from there rather easily – As long as you keep the group as active as possible, dead groups don’t thrive.
Suggested Group Optimization
When you visit certain Facebook groups, it’ll showcase several other groups in the right sidebar (once you scroll down), for example, when I visited my group it showed the following other groups with a nice “Join” button CTA as well –

Facebook’s Edge Algo uses the groups tags as well as your friends to determine whether a group will show up the suggested groups sidebar.
Whilst having loads of members with mutual friends (with your members) in other, similar groups can be difficult.. Tags are easy, and can be manipulated very easily as well.
Simply go to other group’s similar to yours (that you want to appear in the suggested groups for) and click the “See more” button on the right hand sidebar, in the group’s description –

You’ll then need to scroll down to the “Tags” section –
See what tags competing groups are using, go for the most commonly used tags across your target groups.
Facebook Page Marketing
Facebook pages are notoriously difficult to grow, I (according to Fanpage Karma) grow by about 1% week on week – Which is actually at the higher end of the spectrum compared to other internet marketing and SEO pages.
Creating Your Facebook Page
Again, it’s really simple to make a Facebook Group, just go to this link and follow all the instructions. Once you’ve created your page, there’ll be a few things you’ll need (or at least, I suggest you’ll need) to edit:
- Cover Photo – Try to differ from the one in your Group, though same pixel size.
- Other Accounts – Insert your other social media profiles.
- Start Date – This is always a good idea, adds trust to your page when people read your about page.
- Page Owners – I also suggest making your page ownership publicly available, this works well for getting followers to your personal page as well.
- Signup Button – Though these tend to get low amounts of clicks, it’s always a good idea to be able to funnel people through to a landing page.
Once you have all these things in place (I’m assuming you’ve followed EVERY instruction on the page creator) you’re good to go with marketing your page.
Marketing Your Facebook Page
I use just 2 main ways to attract people to like my page, on top of the tip I gave above as well as Facebook ads, which I cover in the section below.
Like Box
You may of noticed in the right sidebar that I have a like box for my blog –
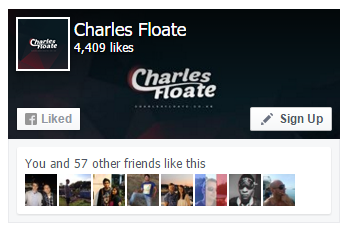
This box converts quite a few people, around 3 – 5/day. I always suggest having a social CTA on your site, though which network you go with should depend on your niche – For example, LinkedIn works a lot better in the consultancy niche, where as Facebook works a lot better in the gaming niche.
Comment on Other Pages
First you need to use Facebook as your page –
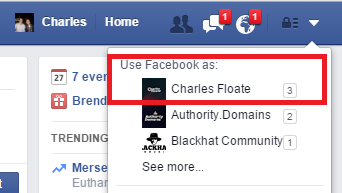
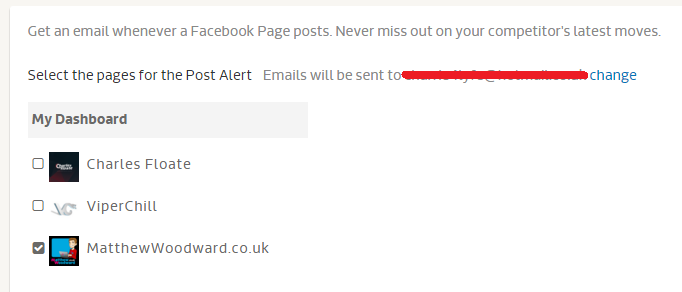
Then commenting on other pages posts in your industry pushes there users to yours. Try to setup alerts for new posts on competing pages, you can setup post alerts for free with Fanpage Karma to send you email notifications when monitored pages publish a new post –
Don’t go linking to your Facebook page or you’ll just get banned from commenting on that page again, but giving an insightful comment in reply generally gets the attention of the page owner (Good as they’ll be an influencer in your industry) and their fans.
Facebook Ads
As I said earlier, I don’t do many ads aside from retargeting for this blog, however there are a few rules you’ll need to know before going ahead and making an ads campaign.
- Image Size – For every link you share, you want to make the featured image within it 470 x 246. Jon Loomer has also done a more detailed infographic here, what a neat dude.
- Image Text – Facebook only allows 20% of an image to have text within it – Means you’ll need to be more creative with your graphics and text useage.
Retargeting
I use a Facebook pixel across my sites, unfortunately Facebook only allows 1 pixel per account now, which is really, really f’ing annoying… However as I created several before they made that change I manage to collect data from several sources in the marketing industry, totally just over 15,000 SEO / Internet Marketing Facebook profiles.
[well]Note: Facebook Pixel’s only record data for the last 6 months. I suggest downloading the audiences every 6 months and re-uploading as a new audience with the date range of that audience in mind, e.g. “Example Site Pixel 1st of Jan – 1st of June 2015”.[/well]
Go to your Facebook Ads manager and create a campaign, I use either “Boost post” or “Send people to your website”, in this example I’ll be boosting this post on my Facebook page –

I’ll create a “Boost Post” campaign, and select this post.
I’ll then select my custom audiences I have setup –
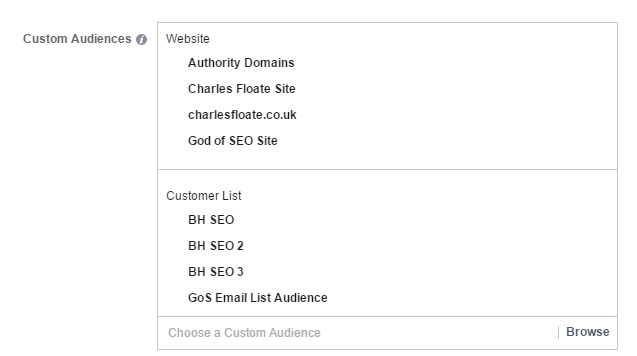
[well]Note: You can import your email newsletter list (See “GoS Email List Audience”) into a custom audience as well.[/well]
Then select your locations and languages.
In this example, I’ve selected:
- United Kingdom
- United States
- New Zealand
- Canada
- Australia
And put my language as “English (All)”.
As to only get traffic from premium, English-speaking countries.
I then select the Interests, which further whittles down my custom audiences list. As I only have 15k people, which goes down to about 10k after the country and language selection, I try to pick quite a few interests:
-
Creative entrepreneurship
-
Defeat Depression
-
Depression Awareness
-
entrepreneur
-
Startup company
- Entrepreneurship
[well]Note: You can just use interests, location etc.. if you want, but it becomes highly expensive with more of a broad audience, than hyper-focused retargeting audiences.[/well]
There is also the “Connections” option, though I personally don’t like using this – Good if you’re trying to grow ONLY new likes, though.
I then set my daily budget, in this example I’m doing $25/day.
If you’re using “Send to Website” then do it as CPC, if you’re doing “Boost post” then go via impressions, as you’ll get charged a lot less – In this example, I get billed per impressions at $3/1,000 impressions, using the “Manual” bidding option.
I always select my “Delivery Type” as “Accelerated” – Testing on MANY accounts has proven accelerated to produce lower CPCs and higher clicks.
Finally click “Choose Advert Creative” and go through to select whether you want your posts to appear on –
- Desktop – The best for the highest quality of traffic.
- Mobile News Feed – Good if you can convert mobile traffic, dependent on your site and page.
- Desktop Right Column – Due to ad blockers and low click rates, I generally remove this.
- Instagram – Again, depends on whether you can convert mobile traffic and if the image/video will be good enough for people to engage with it. Instagram marketing is a whole different blog post in itself.
Finally, click “Place Order” and you’ve got your ads up and running.
I generated 35 clicks to the post I promoted, at a cost of just $3.78, aka $0.11/click.
Thanks For Reading
I hope you enjoyed this blog post, if you have any Facebook marketing tips, then drop a comment below and don’t forget to join my email newsletter.